Achieving precision is one of the biggest challenges in home DIY projects, especially when working with tools that require steady alignment and control. Even small drilling errors can lead to uneven finishes or weakened structures, underscoring the importance of accuracy for high-quality results. Referring to these drill guides helps maintain consistent angles and depth, allowing both beginners and experienced DIY enthusiasts to complete tasks with greater confidence. These tools provide stability and support, reducing the chances of mistakes during critical steps. This article explores how drill guides improve accuracy in DIY projects and why they are a valuable addition to any home workshop.
Maintaining Consistent Drilling Angles
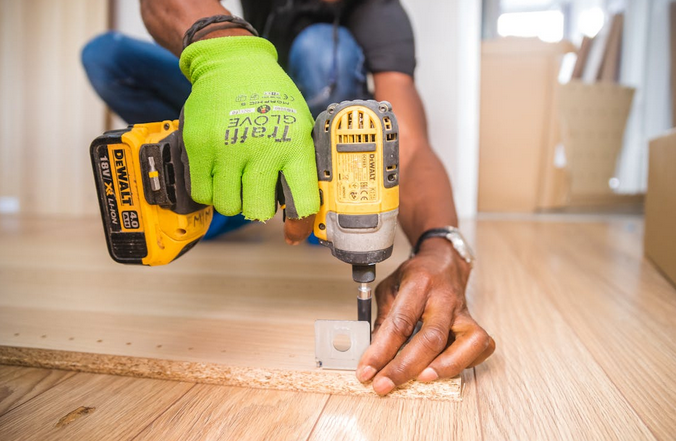
One of the key ways drill guides improve accuracy is by maintaining consistent drilling angles. When drilling without assistance, the drill can tilt slightly, which can affect the outcome. Drill guides help keep the drill perpendicular or at a fixed angle relative to the surface. This consistency ensures that holes are correctly aligned and meet the project’s intended design requirements. By controlling the angle of entry, drill guides reduce the likelihood of misalignment and improve the overall quality of the work.
Enhancing Stability During Operation

Stability plays an important role in achieving accurate drilling results. Drill guides provide a steady base that minimizes vibrations and unintended shifts during operation. This stability allows the drill bit to move smoothly into the material without deviation. In DIY projects, where surfaces may not always be perfectly even, this added support helps maintain control. The ability to stabilize the drill contributes to cleaner holes and more precise placement, which are essential for achieving reliable results in construction and assembly tasks.
Supporting Precise Hole Placement
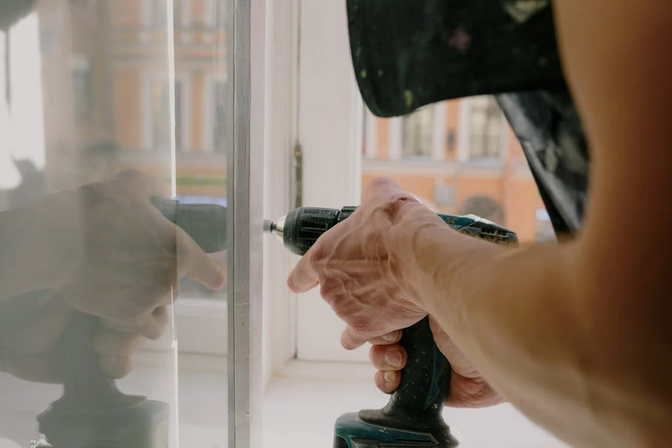
Accurate hole placement is critical in many DIY applications, particularly when multiple components must align. Drill guides help position the drill exactly where the hole is needed, reducing the risk of errors. They often include features that help mark or secure the drilling point, ensuring consistency across repeated tasks. This precision is especially important in projects that involve measurements and alignment, where even small deviations can affect the outcome. By guiding the drill to the correct location, these tools enhance the accuracy of each step in the process.
Improving Results Across Different Materials
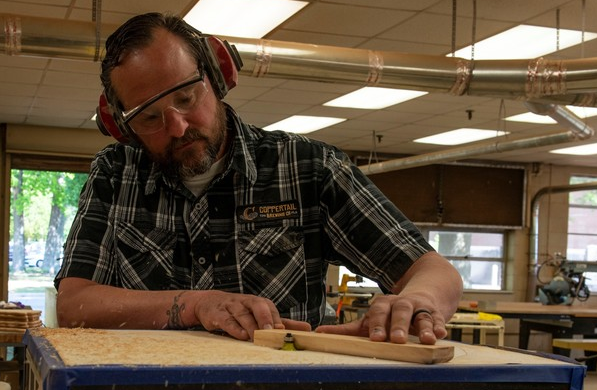
Different materials respond to drilling in various ways, which can influence accuracy. Wood, metal, and plastic each present unique challenges, such as resistance, surface hardness, or potential slippage. Drill guides help manage these variations by providing a controlled entry point and maintaining alignment regardless of the material. This adaptability ensures that the drill performs consistently across different surfaces. Maintaining accuracy across diverse conditions highlights the practical value of drill guides for a wide range of DIY projects.
Drill guides improve accuracy in home DIY projects by providing stability, maintaining consistent angles, and supporting precise hole placement. Their design helps reduce errors caused by manual handling and surface inconsistencies. By offering a structured approach to drilling, they enhance the quality and reliability of project outcomes. Understanding how these tools work highlights …
 After you gather enough sources, begin your first project. For instance, you can try to build a simple bench for your backyard. Or, you can even start with an easy craft such as making a storage box. Remember that the goal here is to create a finished item, not yet an artistically-done one. Having some imperfection is acceptable as long as your project is functional.
 If you want to be a great artisan, you need quality tools for your craft. Do not waste your money on buying cheap hand tools and power tools. As an example, only trust the reputable brands for circular saws, such as DeWalt, Makita, or Hitachi. Not only do they last longer than other brands, but they also provide better safety mechanism.